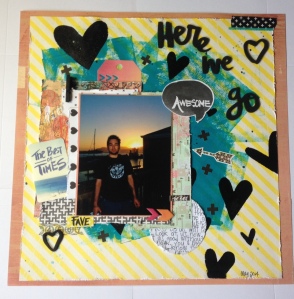
Why oh why, am I so bad at regularly updating my blog? I’ll never find out the answer. You’d think it would be easy because I always liked writing/English in school. Anyhow, just wanted to share a layout I created a few weeks ago with you guys. I created my own “kit” from Amy Tangerine “Plus One” collection and a lot of other random bright, fun and summery papers and embellishments. I created this layout from that very kit and love the way it came out. It’s a picture of my boyfriend Bruno standing in front of a beautiful sunset in San Francisco. We took a trip there in 2006 and had so much fun. I decided to do a layout of this old photo as I had an extra copy of it lying around. I can’t remember what paper I used but believe it might be Maggie Holmes (the yellow diagonal striped paper). The paper is bordered by a random page from The Pier collection. I used my Tim Holtz paper distresser on basically every layer of this layout. To create the painted background, I took my brayer and started spreading out some Deep Turquoise paint. I then created lots of layers from my “kit” and used embellishments from Basic Grey’s High Line collection and Amy Tan’s Plus One. The title, “Here We Go” refers to the fact that we’re taking a trip back to California in October and can’t wait to see more of that beautiful state. Hope you guys like the layout. I’m loving it as it feels summery, bright and fun!
Oddball Art Co Girly/Glam Challenge
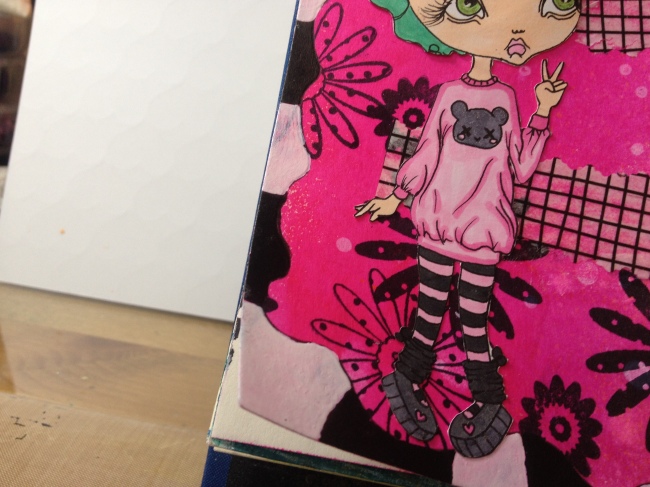
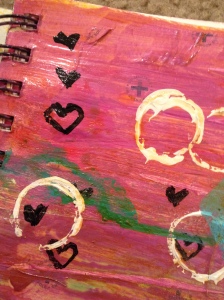
Hey Guys! It’s that time again. The Oddball Art Co blog is having a challenge and the team is Glam/Girly. I created an art journal page for my project and had lots of fun messing around with creating my own resist for the first time ever. I used a white Gelly Roll pen and a Heidi Swapp stencil to create all the little white bubbles on the page. Once I sprayed down Dylusions in Bubblegum Pink and Lemon Zest, the white Gelly Roll resisted and left a cool pattern on the page! The flower pattern you see is created by an Inkadinkadoo stamp set with Archival black ink. After that I added some tissue paper (the grid design) for some interest on the page. I just adhered that down with Mod Podge. I did use a little bit of Picked Raspberry Distress paint and just smeared it in various places on the background for a grungier look that still remained a bit pretty! Finished the page up with a border that I drew with my Smash Book Smash pen and my black Pitt big brush pen. The white on the border was made with a Sharpie white oil marker. I added a glittery Prima butterfly for an extra bit of femme. The quote, “Dream Big” is just some Mambi chipboard stickers. Hope you guys like the page! I had tons of fun just experimenting with mixed media techniques.
If you’re itching to show off your skills for the Girly/Glam challenge, visit the blog and upload your crafty creation using a digi that is girly/glam. The challenge will run for a month and the prize is 3 free digi stamps from the Oddball Art Co shop. I would love to see what you guys create!
Below I posted some more close-up shots of my project!
Oddball Art Co Facebook Challenge for May
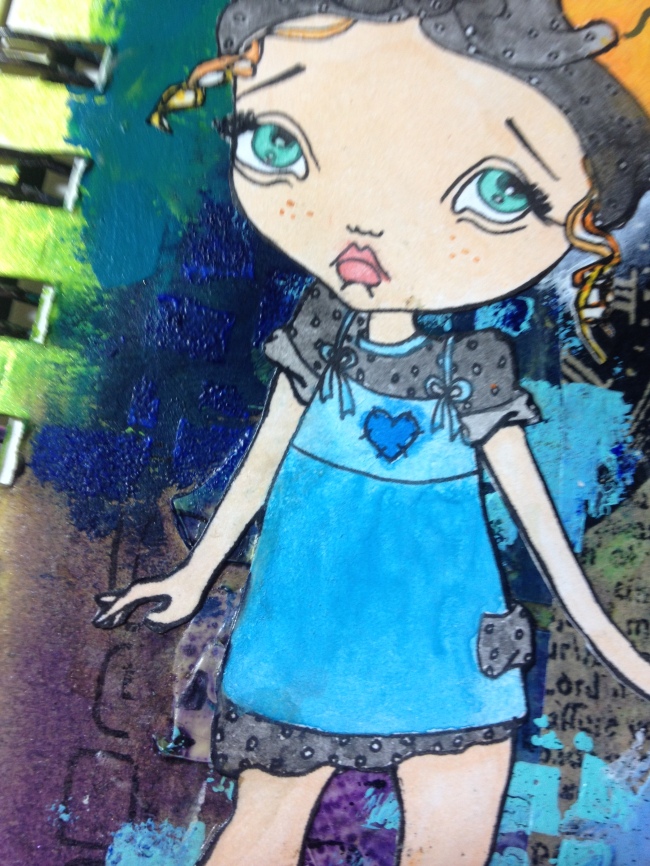
It’s that time again….for a Facebook Challenge for Oddball Art Co. This month I got to use this super cute digi which is one of my favorites from the shop, Big Eyed Girl Image No. 3. I love that she has a cute cluster of stars as a tattoo, just like me. 😉
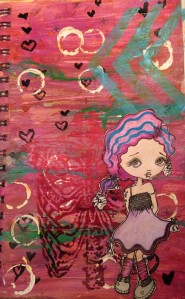
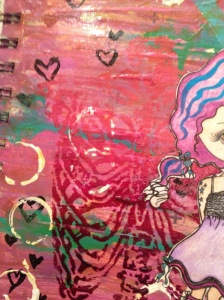
For my project I created an art journal page. I used some Dylusions spray, lots of acrylic paint, stencils, and even some tissue paper to create different patterns and layers.
There’s a lot going on in this art journal page and some of it kind of got lost in the layers as I worked but I like the overall look of the page. If you’re interested in playing along for our Facebook challenge for May, simply use an Oddball Art Co digi stamp from the Etsy shop and create with us! You have until the end of May to enter your project and the winner will get to choose 3 digi stamps from the shop! Check out the FB group and show us your creation.
Thanks for stopping by and checking out my creation!
Oddball Art Co Easter/Spring Challenge!
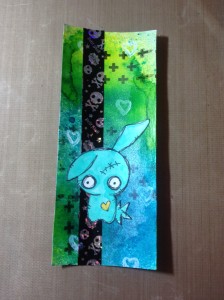
Time for another Oddball Art Co challenge! This time the theme was Easter or Spring. If you’d like to join us head on over to the blog. You can create a project or use one that you’ve made for Easter or Spring and be entered to win 3 digi stamps from the Oddball Art Co Etsy shop. You have until May 14th to join in and play along! For my project I decided to create some bookmarks using this adorable little zombie bunny. He comes with the Zombie Girl digi but I just felt like he stole the show so I had to showcase him for this project.
I created four different bookmarks and colored up the zombie bunny in different pastel shades for the Easter theme. The bookmarks were pretty simple to make since I had to keep them relatively flat to fit into a book. I cut 4 pieces of paper in approximately 2 inches by 4 inches and backed it to make it more sturdy. I then sprayed the bookmark with different Ranger Dylusions sprays. I decorated each bookmark differently with random washi tape, stamps, stickers, and used stencils and cut-outs. I really like the way they all came out. They’re fun and funky and definitely useful. I think making a set of bookmarks is a great way to make an inexpensive gift for friends. Hope you guys will join us for the challenge. If you decide to, let me know I’d love to check out what you create!
Below are some close-ups of the individual bookmarks :
Oddball Art Co Stamp Facebook Challenge!
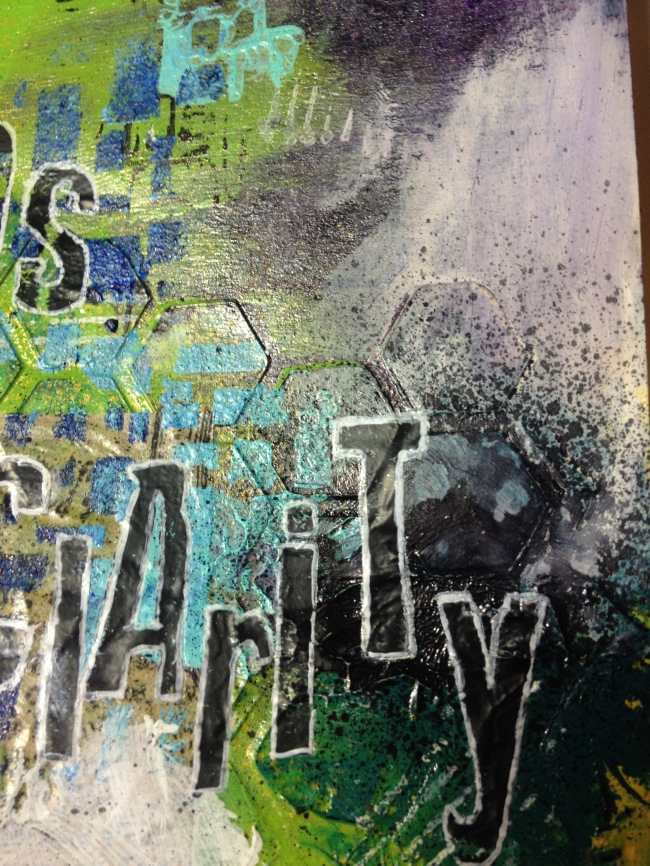
For the latest Oddball Art Co challenge I decided to create a Art Journal page. There’s nothing more freeing than just working in your art journal. You just get out some paints and see where things will go and if you mess up, you just run with it and make it something you do like. This art journal page was for Oddball Art Co’s Facebook Challenge. The challenge was to just use a Digi image and I used image called “Big Eye Girl Image No. 18” for my page.
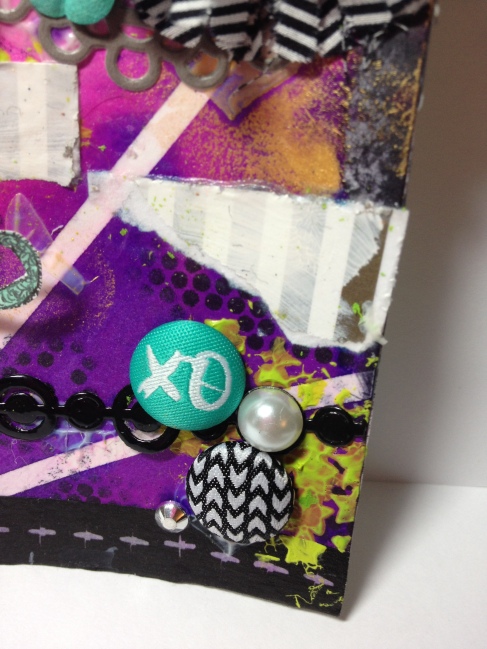
I started my page by first using a hexagon stencili and some modeling paste. I knew I wanted that texture as one of my first layers. I then started adding some Hero Arts Neon Purple from a paint dauber, Heidi Swapp Color Shine spray in Mustard, and Heidi Swapp Color Shine in Citron. After I layed down some lime green and teal acrylic paints. I used a variety of stencils and paints, and stamps to keep building the layers as I worked. Regular white gesso helped me to smooth out areas that I didn’t feel like initially flowed well together. My favorite addition to the page was Mod Podge-ing down some tissue paper with clocks and texts. I felt like it just added another interesting layer to the piece. The title “From chaos comes clarity” comes from a 311 song lyric. I stamped out the words, “from” and “comes” and the words “chaos” and “clarity” are Jenni Bowling rub ons. I really like that when I look at the page each time, I feel like you can still see something you didn’t notice before.
Please join in on the facebook group Mixed Mediaology Oddball Art Stamps Co. to see more creations made with the adorable digis created by Lizzy Love. This group is made for folks to showcase their artwork that is created with Oddball Art Co digis. If you’re thinking to yourself, “Well I’d love to play along but I don’t have any Oddball Art Co. digis…” Stop by her Etsy shop: https://www.etsy.com/shop/OddballArtCo to purchase some and get started in on the fun with us. All it takes is a creation using one of the Oddball Art Co digis. If you want to enter you have through April to play along. The winner will get 3 free digis from the Oddball Art Co shop! We can’t wait to see what you’ll create!
Super Exciting News!!
I’m excited to share some really exciting news with you guys! I have been asked to join the Oddball Art Company Stamp Design Team! I’m extremely excited and humbled to be representing the talented artist Lizzy Love by working with her digital stamps. Lizzy Love is the fabulous artist behind Oddball Art Co and creates mixed media style paintings, prints, digital stamps, and other amazing creations.
Check out her shop at: https://www.etsy.com/shop/OddballArtCo
For the design team’s first challenge we were given free range in our “Use a Digi” Challenge. It’s nice to just get your feet wet sometimes, right? I decided to create a fun and bright altered tag. The digital image that I used is Big Eyed Girl No. 16 if you’re looking for it in the shop. I just love how she looks in her little fuzzy animal suit!
I colored this cute little girl image with watercolors. This was the first time I’d ever used watercolors to fill in a digital stamp but I do like how it turned out. I was able to mix colors to get shades I wanted and do not currently have in my marker collection. For the tag, I used a Heidi Swapp Color Shine tag as my base and sprayed it with Dylusions spray and some Heidi Swap Color Shine mists. I then started adding layers by using stencils and Staz-On ink, lime green acrylic paint, Inka Gold rub, and modeling paste. I even decided to Mod Podge on some gesso-ed scrapbooking paper for another pattern but with a slightly more muted feel. I dressed up the project with some washi tape, a doily, beautiful flowers to match the digi girl’s outfit, and a few brads. I added a few funky ribbons and trims to the top and called it good. I really like how it came together and I’m digging the bright colors! Here are some more close-up photos of the tag so that you can see it in better detail:
Please stop by the Oddball Art Co. Stamps Blog and join in the fun. Play along with our challenge, we’d love to see what you create!
DIY Planner
I decided that I wanted a planner to just help me remember important dates, appointments, and things I need to keep on top of for 2014. I’m not sure why but I became inspired to make my own planner. I just two chipboard pieces, covered them with patterned paper and decided to cut a ton of paper in the same shape for the inside. It was quite a long process (initially I thought this would be a short project…boy, was I wrong!) but I like the product in the end. My planner is super simple with pages for notes , calendars for each month of 2014, and a section to keep track of my social media ventures, projects, and addresses. I’m hoping this planner will help me keep on top of life and maybe even keep me posting more regularly to my blog! I posted a couple pictures below of the planner cover and a couple of the digi images I colored for each month’s cover page.
Sodalicious Inspired Layout
I’m always on the lookout for any scrappy designer that is my style. I like things that are bit different and just original and funky. I have fallen in love with the company Sodalicious. I believe they are based out of Poland but their style is so unique. Simple patterns, mostly in black and white and …just out there. I love them. I decided to do a layout with some of the new Amy Tan products and other goodies that reminded me of some of the layouts on the Sodalicious blog.
And here’s some more close-ups of the layout.
Mini Album Madness
I don’t know about you guys but I can’t get enough of the pre-made mini books that are so popular right now. I had to stop myself from buying another one at Michaels the other day. I still have a few that I have to put to use before I go on anymore mini-book binges. I do absolutely adore the Heidi Swapp Memory File Album. I’m still working on mine as I get new photos to put in it. I think having a book that is already pre-bound and complete with cute patterned paper just makes your scrappy journey that much easier. While I love to create a layout from the ground up…sometimes I just want to do a quick layout without having to start from scratch. These minibooks like the Heidi Swapp books, Maggie Holmes clipboard albums and Amy Tan daybooks are the perfect solution for when I’m in this kind of a scrapping mood.
Here’s a few pages from my Heidi Swapp Memory File Album:
My poor neglected blog! After some computer problems like losing my whole hard drive (yikes!) I never got back to my blog like I should have. Heck…its a new year so why not start fresh now? I’ve still been crafting away and my most recent discovery is embossing. While not a new technique by any means, the process is new to me and I can’t get enough of it. I recently made a mini album for a friend and got a chance to emboss some stamped images to add to some of the pages.
My latest creation after the embossing bug bit me:
I simply took one of the Amy Tangerine wood cards and wanted to jazz it up a bit by stamping it with a cute heart patterned stamp. I then added pink embossing powder, used my heat tool and had a cute and revamped wood card to use for a layout or whatever else I choose.
And isn’t the negative space left from the embossing powder, oh so cute?
